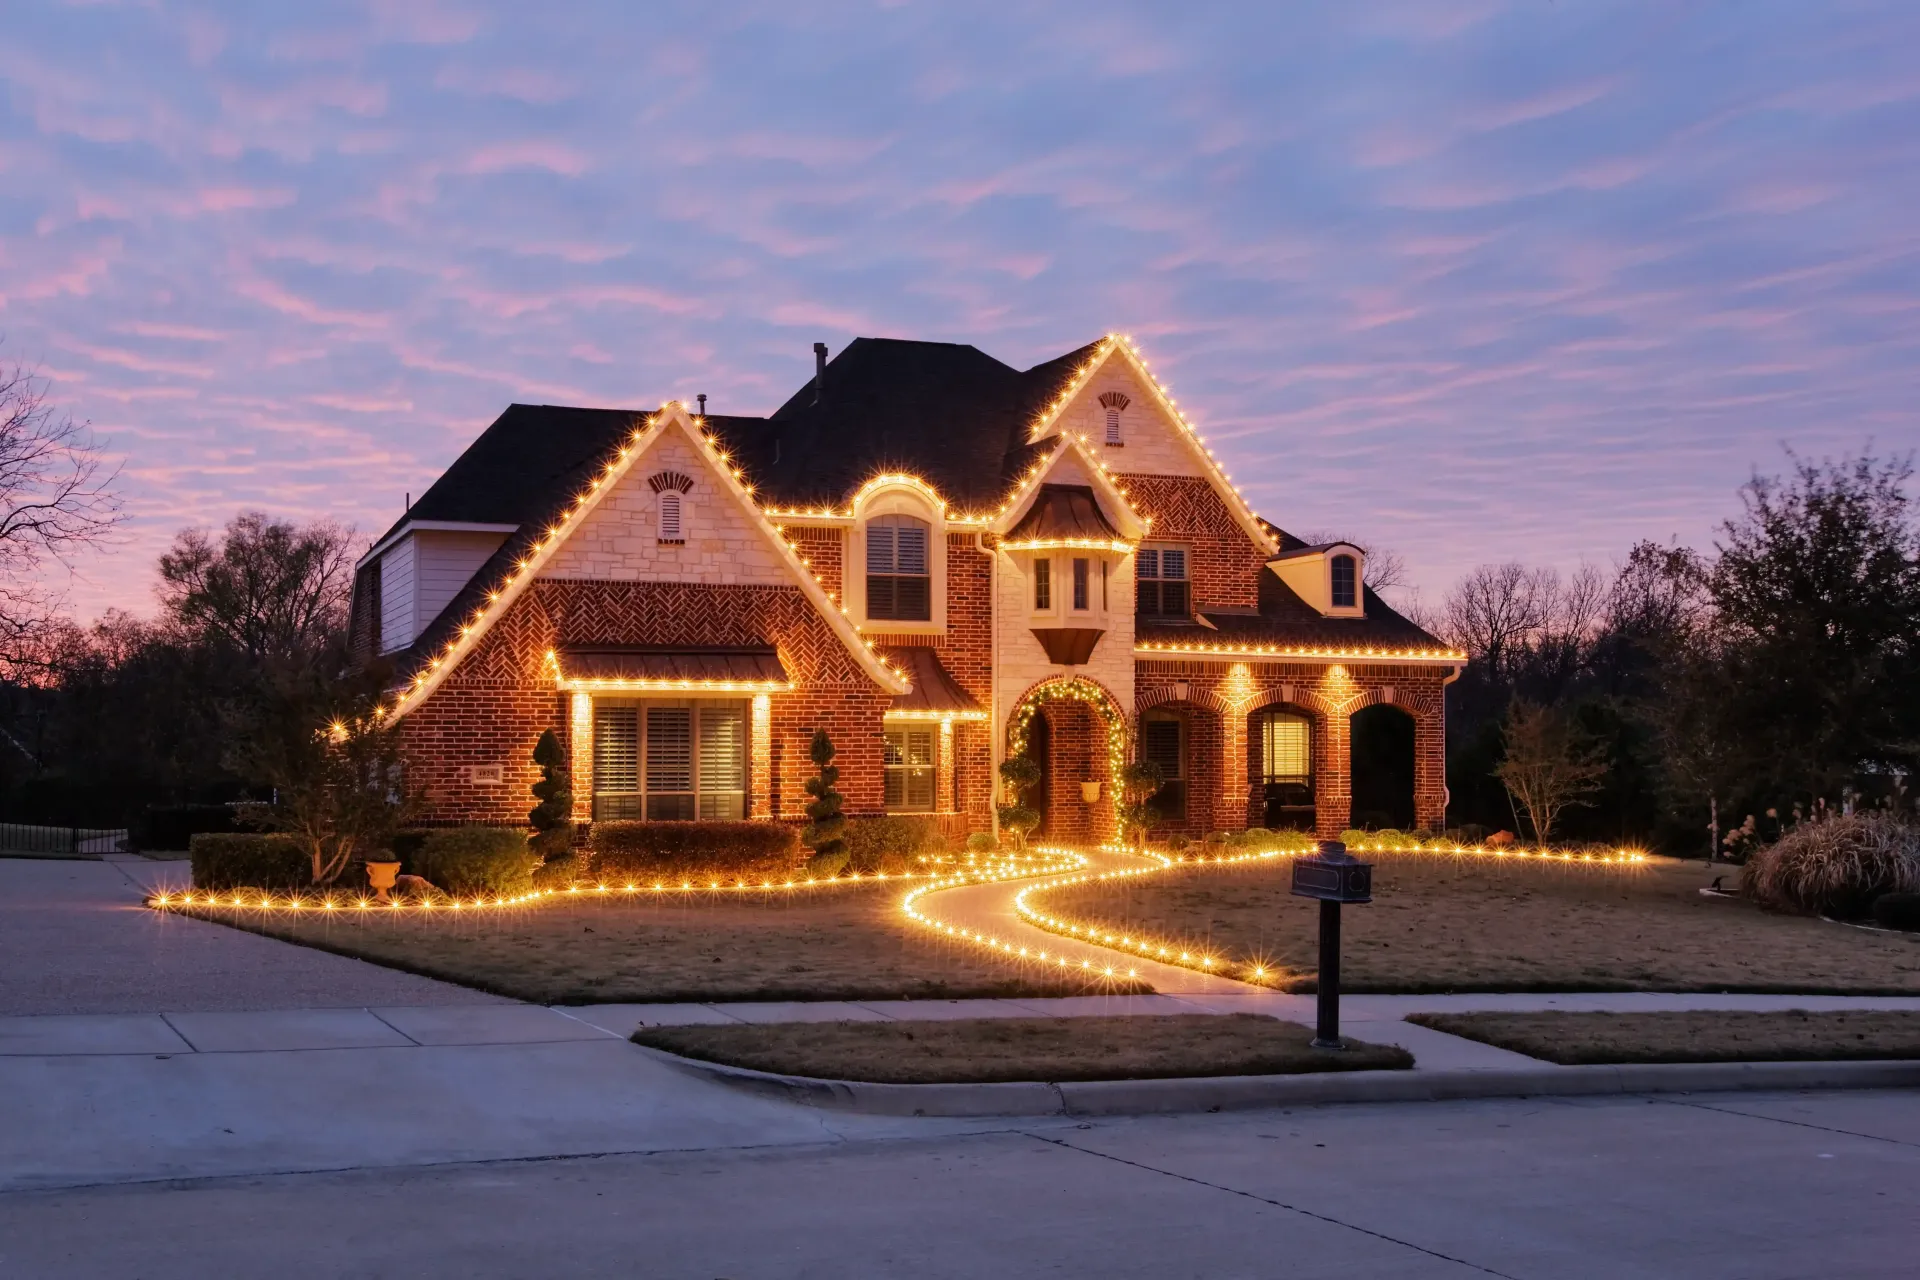
How to Plan Your Yard Lighting
Lighting your yard doesn't have to be challenging. In this blog post we'll walk you through the 7 steps you can take to light your yard like a pro!
Getting Started
Planning your yard lighting can transform your outdoor space into a beautiful and functional area. Whether you want to highlight your garden, improve safety, or create a cozy atmosphere, proper lighting is key. Here’s a step-by-step guide to help you plan your yard lighting.
1. Assess Your Needs
Start by thinking about what you want to achieve with your yard lighting. Do you need to light up pathways for safety? Do you want to highlight specific features like trees, plants, or a water fountain? Or do you want to create a relaxing ambiance for outdoor gatherings? Knowing your goals will help you choose the right types of lighting.
- Safety: Ensure walkways, stairs, and entryways are well-lit to prevent accidents.
- Security: Brighten dark areas to deter intruders.
- Aesthetics: Highlight architectural features, garden beds, or water features.
- Functionality: Provide adequate lighting for outdoor activities like dining or grilling.
2. Draw a Plan
Sketch a simple layout of your yard. Include major elements like your house, pathways, garden beds, and any features you want to highlight. This will help you visualize where the lights should go and how many you might need.
- Highlight Key Areas: Mark the spots where you need light for safety and security.
- Feature Spots: Identify areas or objects you want to accentuate.
- Activity Zones: Note places where you’ll need task lighting, such as patios or decks.

3. Choose the Right Lights
There are different types of outdoor lights, each serving a specific purpose:
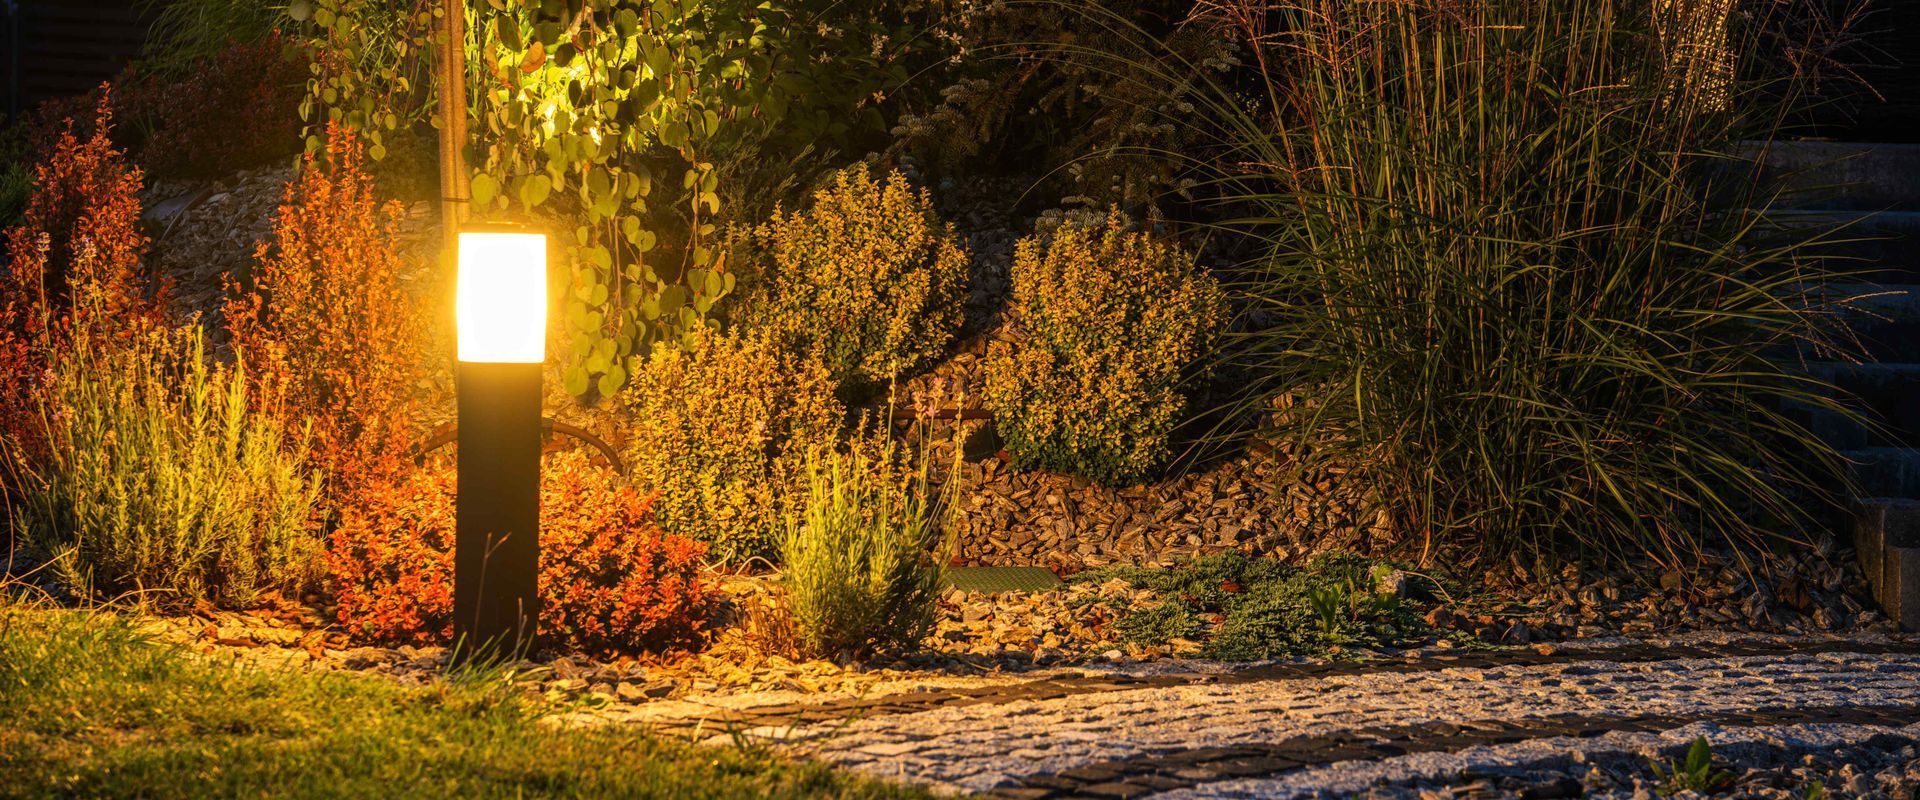
- Path Lights: These are small lights placed along walkways to guide your steps. They come in various styles and can add a decorative touch to your paths.
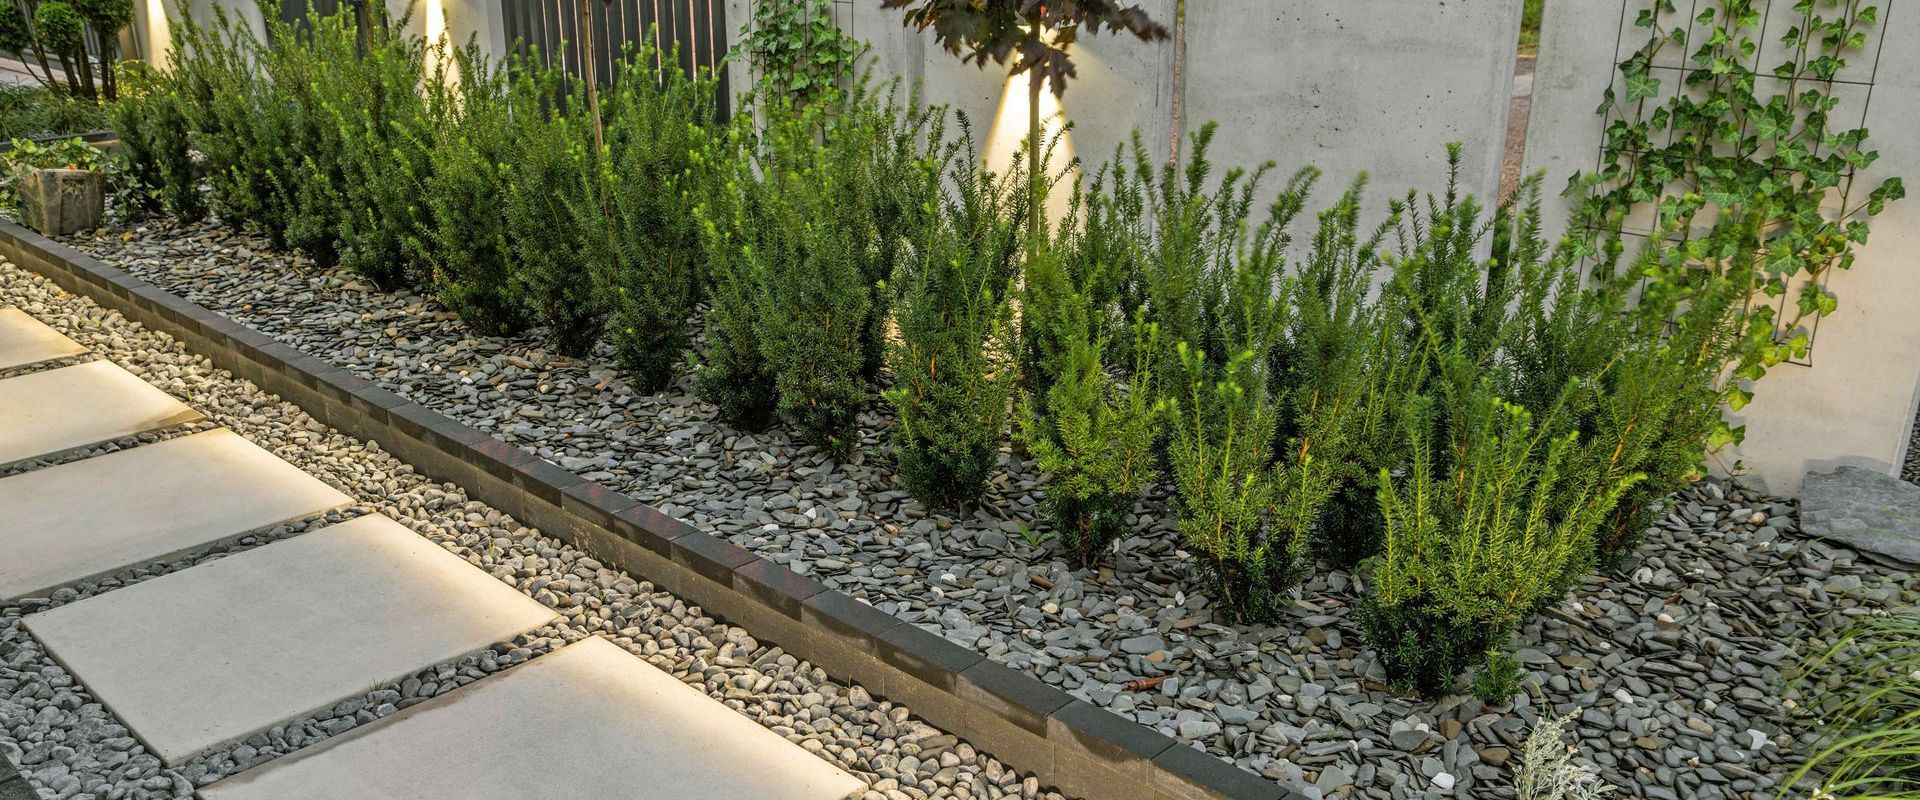
- Spotlights: These lights highlight specific features like trees, statues, or architectural details. They can be angled to create dramatic effects.
- Floodlights: These provide broad illumination. They are ideal for lighting up large areas or increasing security. Motion-activated floodlights are great for added security.
- String Lights: Perfect for creating a festive or cozy atmosphere on patios or around seating areas. They’re versatile and can be draped in various patterns.
- Step Lights: Installed on stair risers or along retaining walls, these lights enhance safety and add a subtle glow.
- Well Lights: These are installed in the ground. They are excellent for uplighting trees or architectural features without visible fixtures.

4. Consider Power Sources
Outdoor lights can be powered in different ways:
- Solar-Powered Lights: These are easy to install and energy-efficient but depend on sunlight. They’re great for low-cost, eco-friendly options.
- Low-Voltage Lights: These use a transformer to reduce household current. They're safe and energy-efficient. They’re relatively easy to install and offer a range of brightness levels.
- Line-Voltage Lights: These are more powerful and better for large areas. But, they do require professional installation. They’re ideal for high-intensity lighting needs.

5. Plan for Installation
Think about how the lights will be installed. Solar lights are the easiest since they don’t need wiring. Low-voltage lights are a good DIY project. However, if you’re not comfortable with electrical work, hiring a professional might be best. This is especially true for line-voltage lighting.
- Solar Lights: Simply stake them into the ground where they can receive ample sunlight.
- Low-Voltage Lights: These require a transformer and cabling but can often be installed with basic tools.
- Line-Voltage Lights: Consult a professional for safe installation. This is because these involve standard electrical wiring.

6. Test and Adjust
Once you have your lights installed, test them at night. Walk around your yard and see how the lighting looks. Adjust the positioning if necessary to ensure the best coverage and effect.
- Adjust Angles: Ensure spotlights and floodlights are aimed correctly.
- Check Brightness: Make sure path and step lights are not too dim or too bright.
- Fine-Tune: Move lights slightly to achieve the desired effect and avoid glare.
7. Maintain Your Lights
Regular maintenance will keep your yard lighting looking great and functioning properly. Clean the fixtures, check the bulbs, and ensure there’s no damage to the wiring or solar panels.
- Cleaning: Wipe down fixtures to remove dirt and debris.
- Bulb Replacement: Check and replace burned-out bulbs regularly.
- Wiring Inspection: Look for any exposed or damaged wires and fix them promptly.
- Solar Panel Care: Ensure panels are free from obstructions like leaves or snow.
Wrap Up
Planning your yard lighting can be a fun and rewarding project. Be sure to assess your needs, choose the right lights, and plan the installation. By doing this you can create a beautiful and functional outdoor space. If you need professional help, Affordable Landscapes Arlington is here for you. We can assist you with all your landscape lighting needs. Call today for expert advice and quality installation to ensure your yard shines bright and looks its best!


