How to Install Artificial Turf Yourself
Wondering how to install artificial turf on your own? Look no further! In this guide, we share the steps we use to install artificial turf for our customers so you can too.
Getting Started
Artificial turf is a great option for homeowners looking for a low-maintenance, green lawn all year round. Installing it yourself can save money and give you the satisfaction of completing a DIY project. Here’s a detailed guide to help you properly install artificial turf in your yard.
1. Gather Your Materials
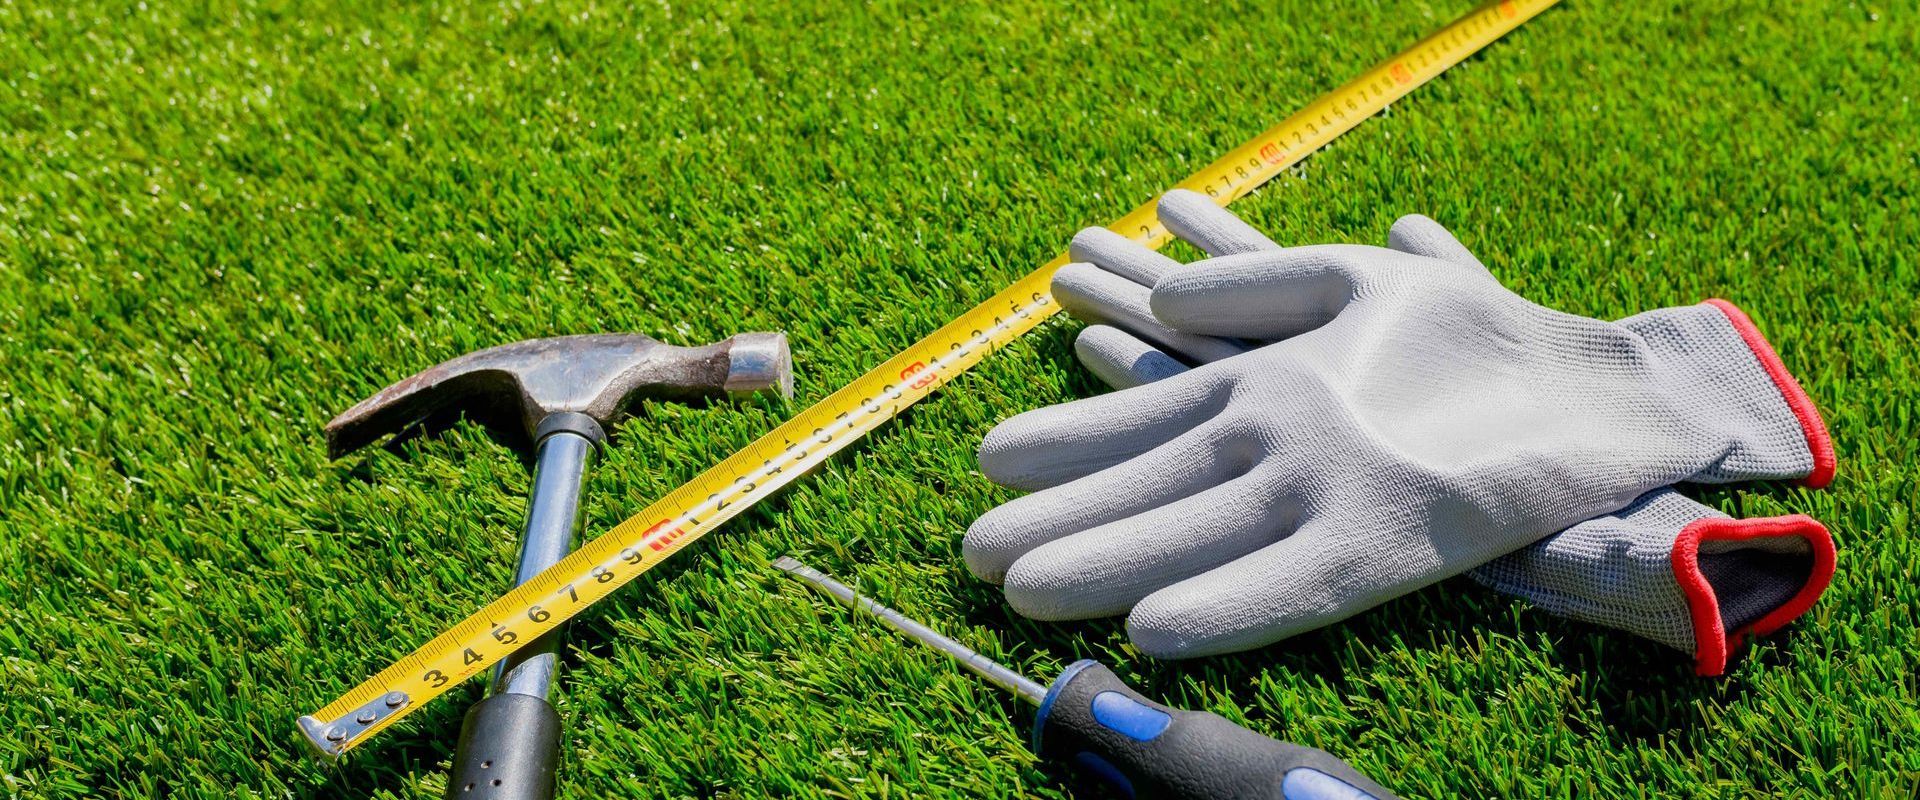
Before starting, make sure you have all the necessary tools and materials. You’ll need:
- Artificial turf
- Shovel
- Rake
- Utility knife
- Landscape fabric
- Gravel or crushed rock
- Sand
- Turf adhesive or nails
- A broom or power brush
- Measuring tape
- Garden hose
- Plate compactor (optional but recommended)
2. Measure and Plan
Measure the area where you’ll be installing the turf. This helps you determine how much turf and base materials you’ll need. Sketch a plan of the area, noting any obstacles like trees, rocks, or pathways.
3. Prepare the Area
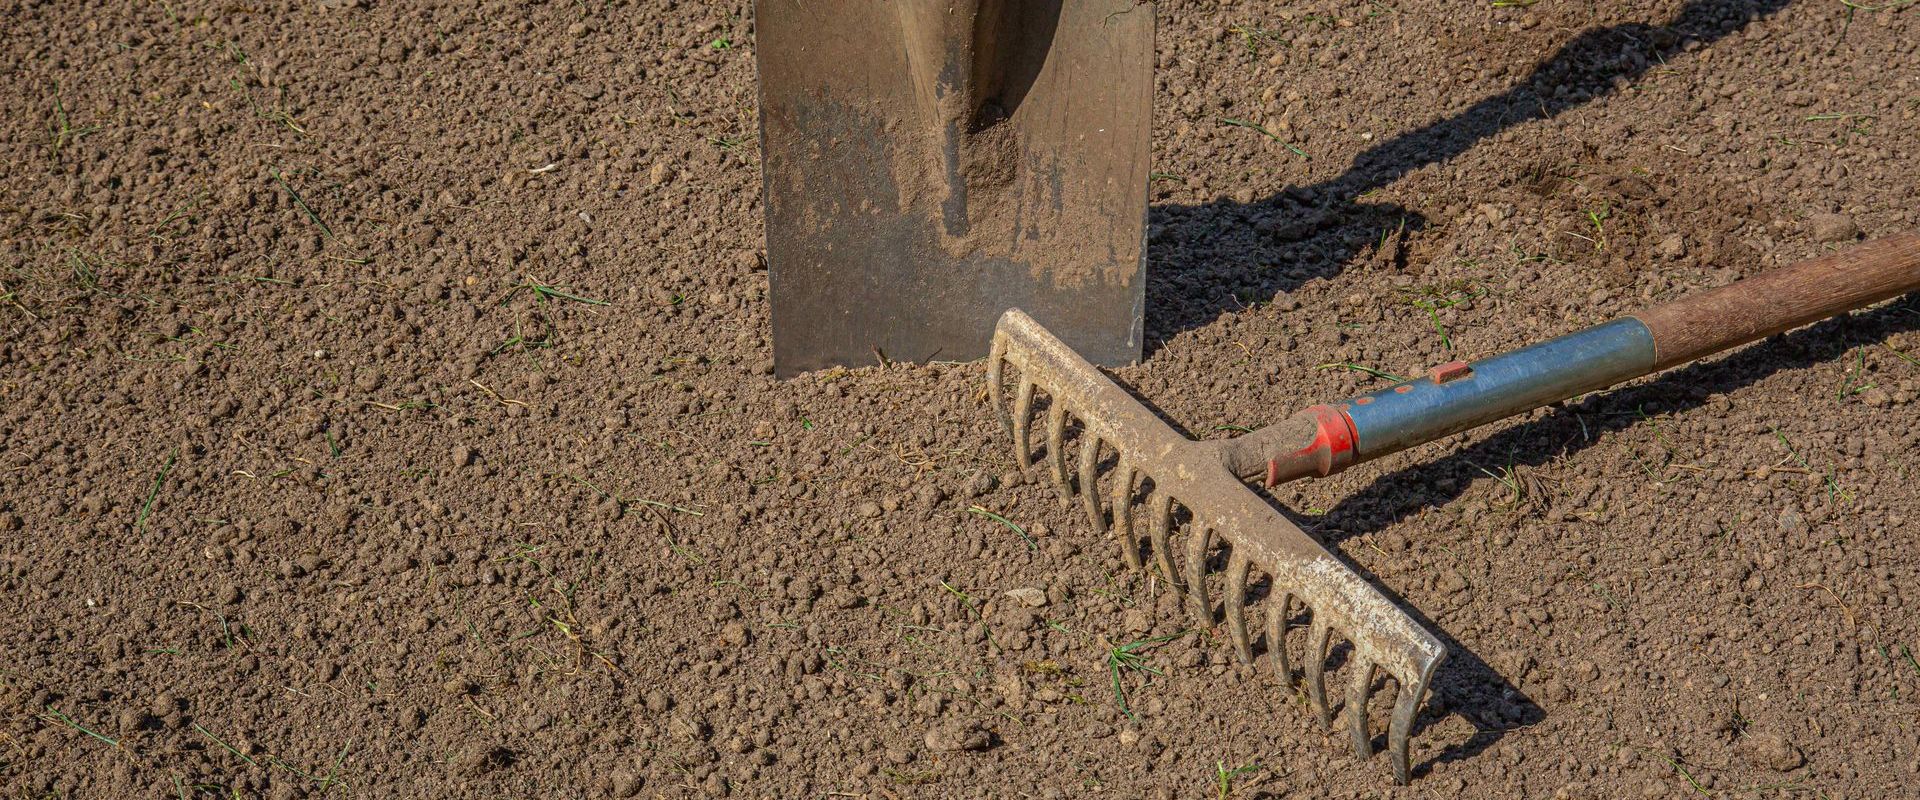
First, clear the area where you’ll be installing the turf. Remove any existing grass, weeds, and debris. Use a shovel to dig out about 3-4 inches of soil. This will make space for the base layers that help with drainage and stability.
4. Create a Base
Once the area is cleared, spread a layer of gravel or crushed rock about 2-3 inches deep. Use a rake to level the surface. This layer helps with drainage and prevents the turf from sinking. Compact the gravel with a plate compactor or by walking over it repeatedly.
Next, add a layer of sand, about 1 inch deep, on top of the gravel. Level it out with a rake. This layer provides a smooth surface for the turf to sit on. Mist the sand lightly with a garden hose to help it settle.
5. Install Landscape Fabric
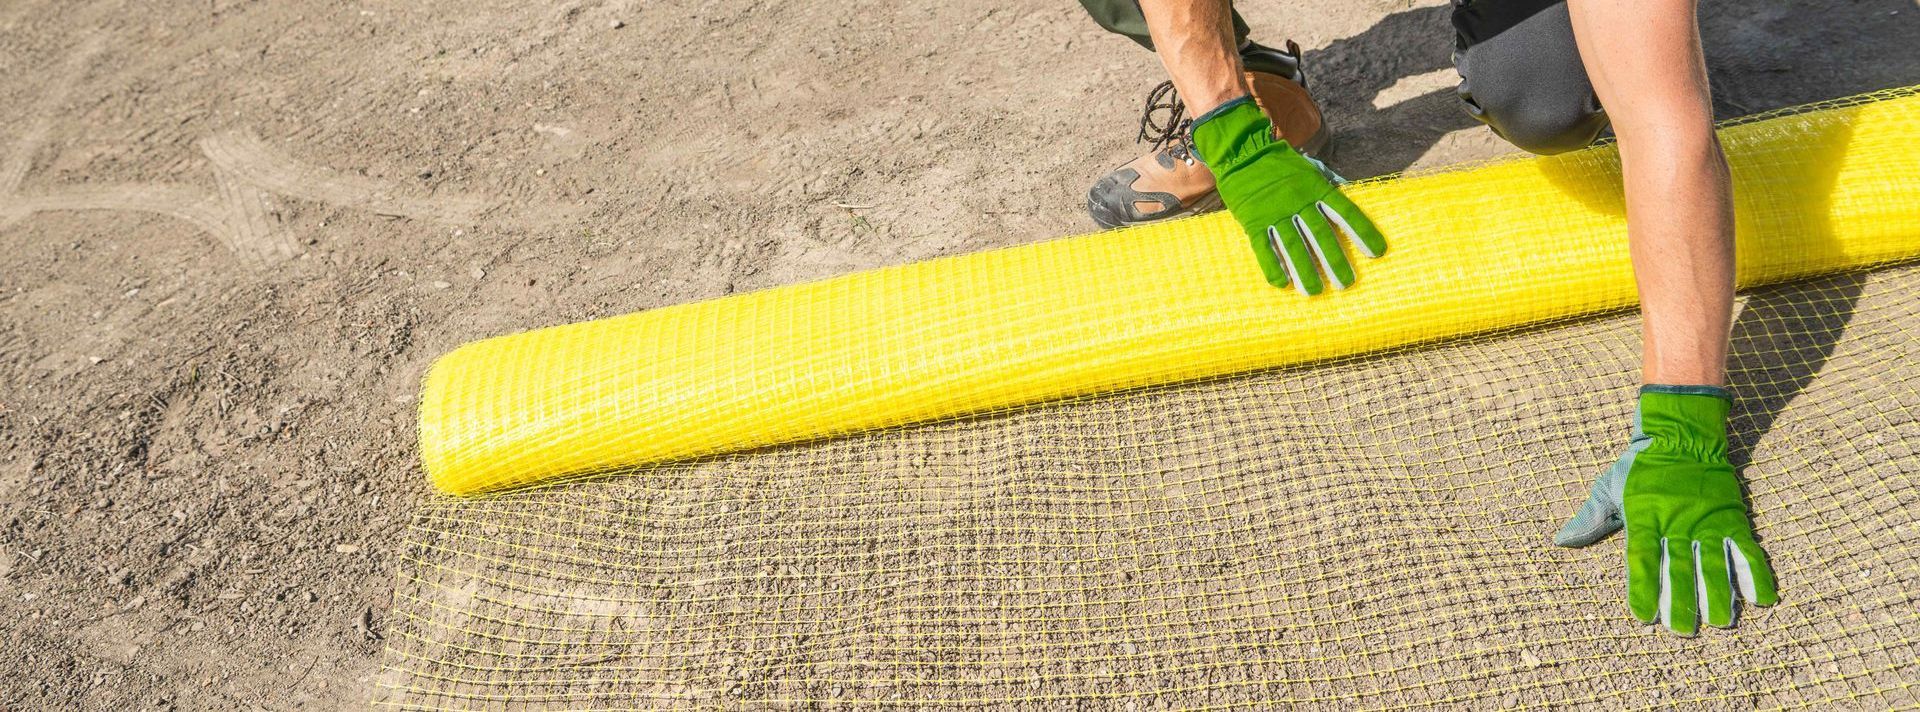
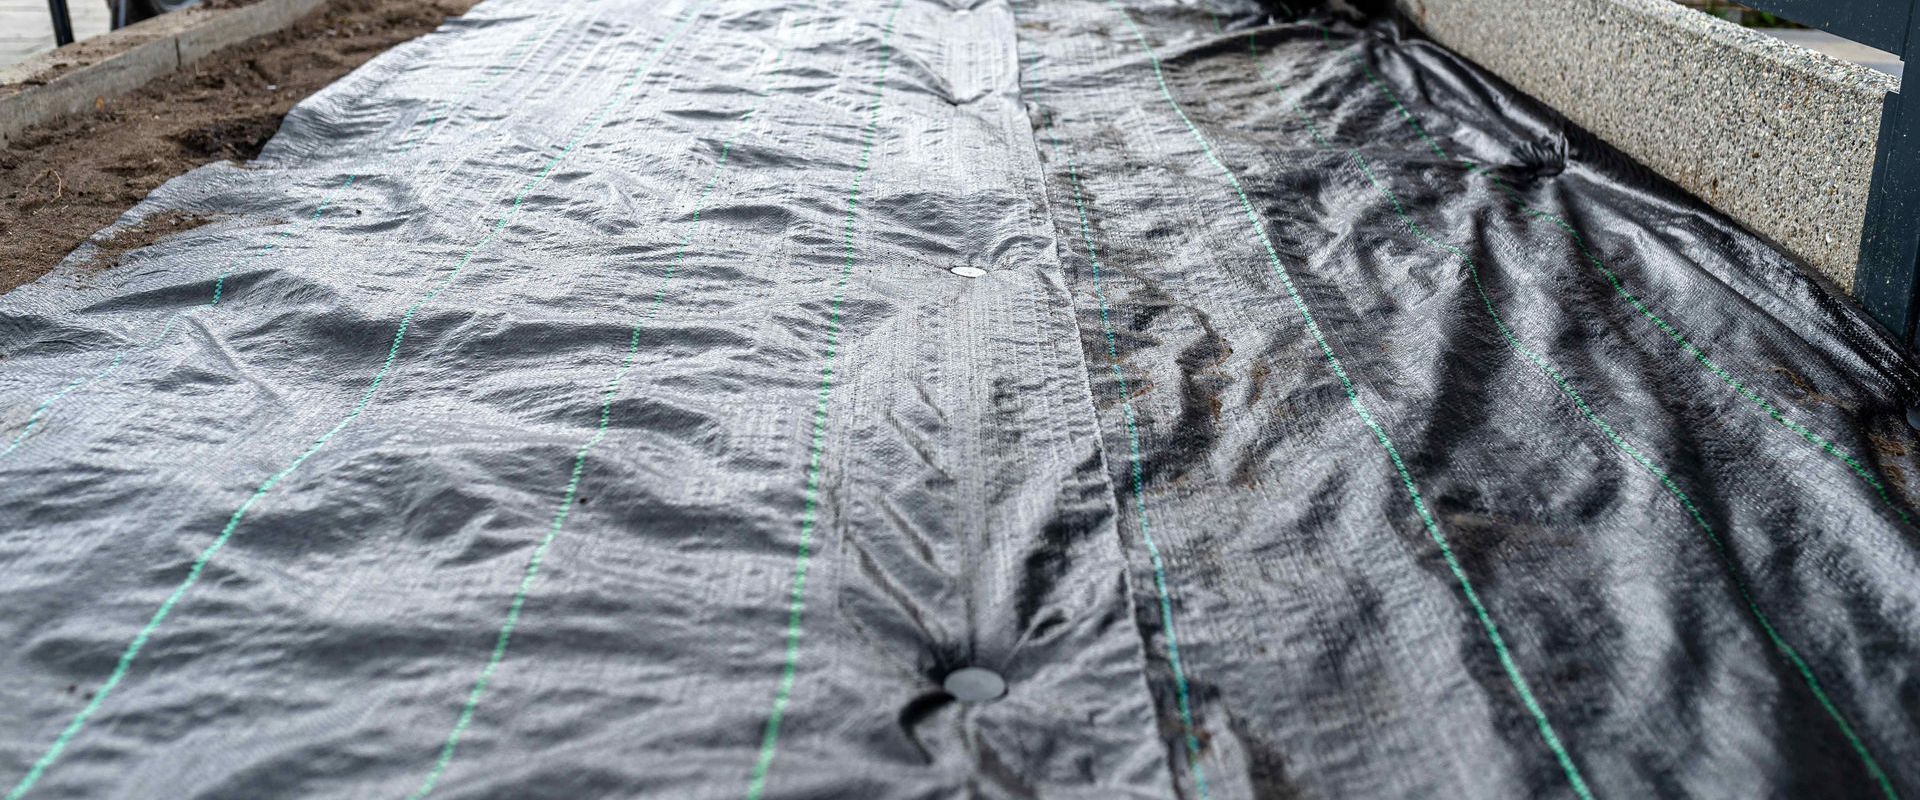
Lay landscape fabric over the sand layer. This fabric prevents weeds from growing through the turf and adds an extra layer of stability. Make sure the fabric covers the entire area. Be sure to overlap the edges by a few inches. Secure the fabric with landscape staples or nails.
6. Lay the Artificial Turf
Roll out the artificial turf over the prepared area. Let it sit for a few hours to allow it to settle and adjust to the shape of the ground. Make sure the turf is aligned correctly and covers the entire area. If you need multiple pieces, lay them out in the same direction to ensure the blades look uniform.
7. Trim and Secure the Turf
Use a utility knife to trim any excess turf. Cut the turf to fit around edges, corners, and any obstacles in your yard. Make sure your cuts are straight and clean to ensure a seamless appearance. Once the turf is in place, secure it by applying turf adhesive along the edges or using nails to pin it down. Space the nails about 6-8 inches apart along the edges and every 2 feet in the center.
8. Join the Seams
If you have multiple pieces of turf, you’ll need to join the seams. Fold back the edges of the turf pieces, and place a seam tape between them. Apply turf adhesive to the tape, and carefully press the edges of the turf into the adhesive. Make sure the blades of the turf do not get stuck in the adhesive, as this can create visible seams.
9. Add Infill
To help the turf blades stand up and add weight, spread infill material, such as silica sand or crumb rubber, over the turf. Use a drop spreader for even distribution. Apply the infill in multiple layers. Brush the turf with a broom or power brush after each layer to help the infill settle and ensure the blades stand upright. The amount of infill needed will depend on the type and height of your turf.
10. Brush and Inspect
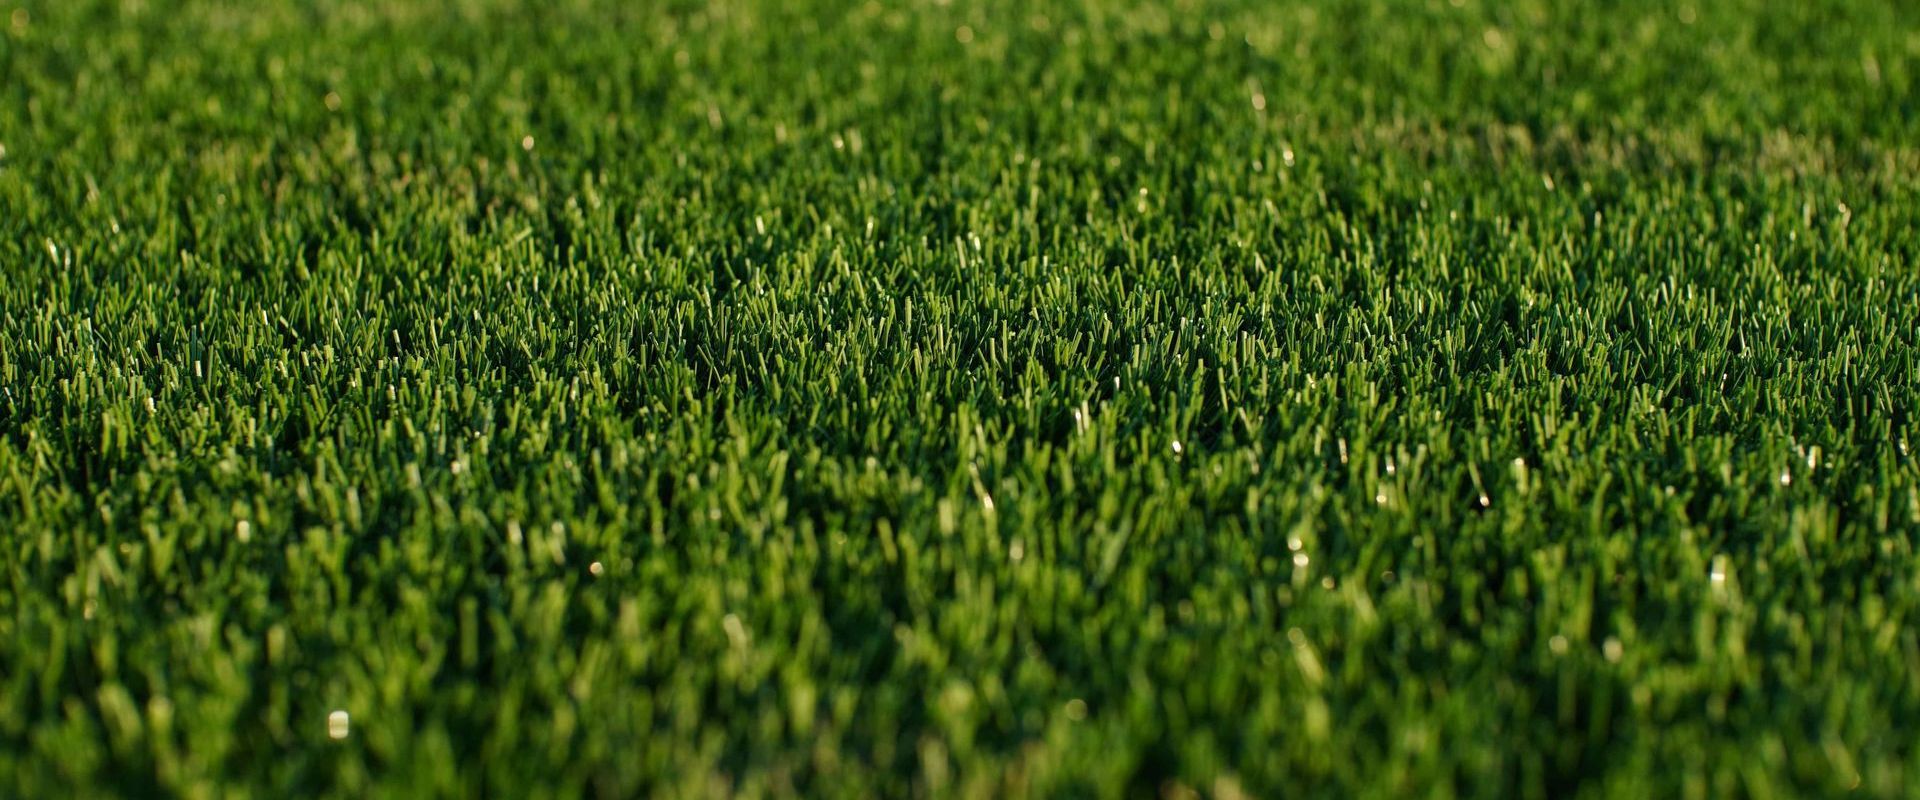
Finally, give the turf a thorough brush to lift the blades and ensure the infill is evenly distributed. Check for any areas that need additional infill or adjustments. Inspect the edges and seams to make sure everything is secure and properly installed.

Wrap-Up
Installing artificial turf yourself is a rewarding project that can enhance the look of your yard. With the right materials and a bit of effort, you can enjoy a beautiful, low-maintenance lawn for years to come.
For professional help with your landscaping needs, contact
Affordable Landscapes Arlington. We provide expert landscape design and installation services to transform your outdoor space.


